원..래는 서버에서 받은 데이터로 푸시알람을 하는게 목표였는데..
애플 개발자 등록하려면 12만원 넘게 내야하는거 알고서,,^^,, 나중에 프로젝트 시작할때 팀원들에게 얘기하고 결제하려고..^6^
아쉬운대로 일단 앱안에서의 푸시알림(Local)을 구현해보자!
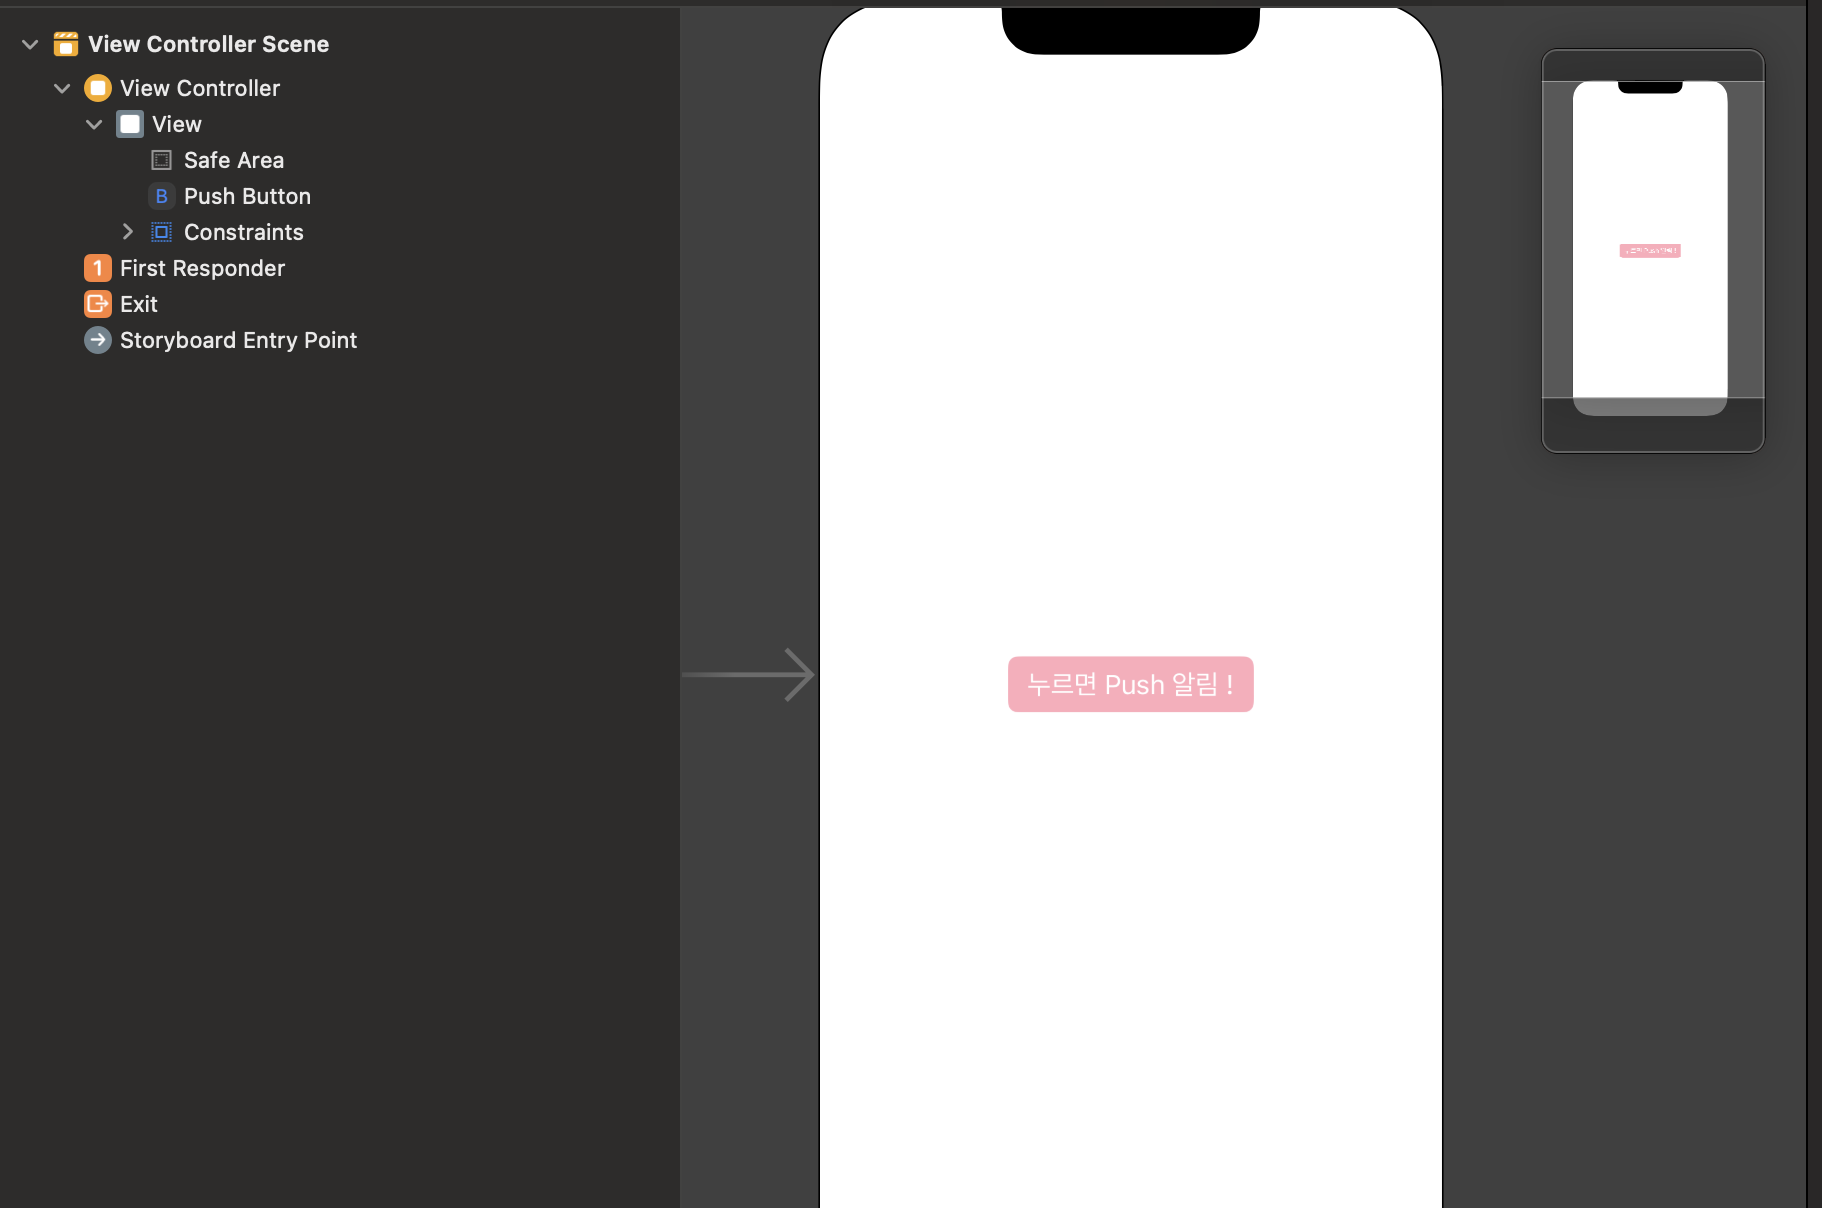
1️⃣ storyboard 구성
2️⃣ UNUserNotificationCenter 싱글톤 객체
3️⃣ 사용자에게 알림 권한 요청하는 메소드 구현
4️⃣ 푸시 알림 전송 메소드 구현
5️⃣ Delegate 설정
1️⃣ Storyboard 구성

2️⃣ UNUserNotificationCenter 싱글톤 객체
📌 UNUserNotificationCenter
- Push 알람을 다루는 객체
- 해당 객체로 들어온 알림들을 처리 해주는 말 그대로 "Center" 같은 개념 !
let userNotiCenter = UNUserNotificationCenter.current()
3️⃣ 사용자에게 알림 권한 요청하는 메소드 구현
📌 requestAuthorization(options: , completionHandler: )
- options: 사용자에게 알림 권한 요청을 하는 메소드 : UNAuthorizationOptions 객체 이용
- completionHandler : 사용자가 권한을 허용했는지 안했는지 알 수 있는 handler
func requestAuthNoti() {
    let notiAuthOption = UNAuthorizationOptions(arrayLiteral: [.alert, .badge, .sound])
    userNotiCenter.requestAuthorization(options: notiAuthOption, completionHandler: { (success, error) in
        if let error = error {
            print(#function, error)
        }
    })
}
이 메소드는 view가 로드될때 바로 권한을 요청할 수 있게끔 viewDidLoad()에 추가
override func viewDidLoad() {
    super.viewDidLoad()

    requestAuthNoti()
}
4️⃣ 푸시 알림 전송 메소드 구현
📌 UNMutableNotificationContent()
- 푸시알림에 들어갈 컨텐츠 구성 클래스
📌 UNTimeIntervalNotificationTrigger(timeInterval: , repeats: )
- 알림이 trigger 되는 시간 설정 클래스
📌 UNNotificationRequest(identifier: , content: , trigeer: )
- 알림요청 클래스
- identifier: 보류중인 알림 요청 또는 전달 된 알림을 바꾸거나 제거하는 데 사용되는 식별자
- content: 알림에 들어갈 내용, UNMutableNotificationContent()로 만든 컨텐츠
- trigger: UNTimeIntervalNotificationTrigger()로 만든 트리거
그리고 마지막엔 UNNotificationRequest를 통해 만든 알림을 UNUserNotificationCenter를 사용해 예약해야한다!
- UNNotificationRequest()로 만든 알림 요청을 add 메소드를 사용하여 넣어줌
func requestSendNoti(seconds: Double) {
    let notiContent = UNMutableNotificationContent()
    notiContent.title = "Title"
    notiContent.body = "Descriptions"
//        notiContent.userInfo = ["sdf":"sdf"]    // 알림과 함께 오는 데이터

    let trigger = UNTimeIntervalNotificationTrigger(timeInterval: seconds, repeats: false)

    let request = UNNotificationRequest(
        identifier: UUID().uuidString,  // 보류중인 알림 요청 또는 전달 된 알림을 바꾸거나 제거하는 데 사용
        content: notiContent,   // 알림에 들어갈 내용
        trigger: trigger
    )

    userNotiCenter.add(request, withCompletionHandler: nil)
}
이 메소드는 storyboard에 만든 버튼을 눌렀을 때 실행이 되도록 버튼 액션 메소드에 추가
@IBAction func buttonTapped(_ sender: Any) {
    requestSendNoti(seconds: 1.0)
}
5️⃣ Delegate 설정
- 해당 view controller에 구현해줘도 상관은 없지만, 특정 ViewController에 구현되어 있으면 푸시를 받지 못할 가능성이 있으므로 AppDelegate에서 구현
func application(_ application: UIApplication, didFinishLaunchingWithOptions launchOptions: [UIApplication.LaunchOptionsKey: Any]?) -> Bool {
    UNUserNotificationCenter.current().delegate = self // FOR local push
    return true
}

// FOR local push
extension AppDelegate: UNUserNotificationCenterDelegate {
    func userNotificationCenter(_ center: UNUserNotificationCenter,
                                willPresent notification: UNNotification,
                                withCompletionHandler completionHandler: @escaping (UNNotificationPresentationOptions) -> Void) {
        completionHandler([.alert, .badge, .sound])
    }

    func userNotificationCenter(_ center: UNUserNotificationCenter,
                                didReceive response: UNNotificationResponse,
                                withCompletionHandler completionHandler: @escaping () -> Void) {

        // deep link처리 시 아래 url값 가지고 처리
        let url = response.notification.request.content.userInfo

        completionHandler()
    }
}
↑ // FOR local push 로 묶인 코드들 추가
🍎 구현 영상
'iOS' 카테고리의 다른 글
| [iOS] Image upload : UIImagePickerController (0) | 2022.10.27 |
|---|---|
| [iOS] 카카오 소셜 로그인 구현 (0) | 2022.10.25 |
| [iOS] Alamofire로 API 호출하기 (GET) (0) | 2022.10.25 |
| [iOS] youtube-ios-player-helper 로 유튜브 영상 플레이어 뷰 만들기 (0) | 2022.10.21 |
| [iOS] CocoaPods 설치 및 Xcode 연동 (0) | 2022.10.21 |