📌 세번째 프로젝트
주식 리스트 앱을 만들어보자
1️⃣ CollectionView

2️⃣ Auto Layout
1. 회사 로고 이미지 상단에 회사 이름 Label 맞추기
- label을 image view와의 관계에서 top을 설정
- label을 image view와의 관계에서 horizontal spacing을 설정 : image view와 label 사이의 거리 설정

2. 회사이름과 주가 사이의 관계
- Vertical spacing : 수직 거리
- Leading : 왼쪽 맞추기
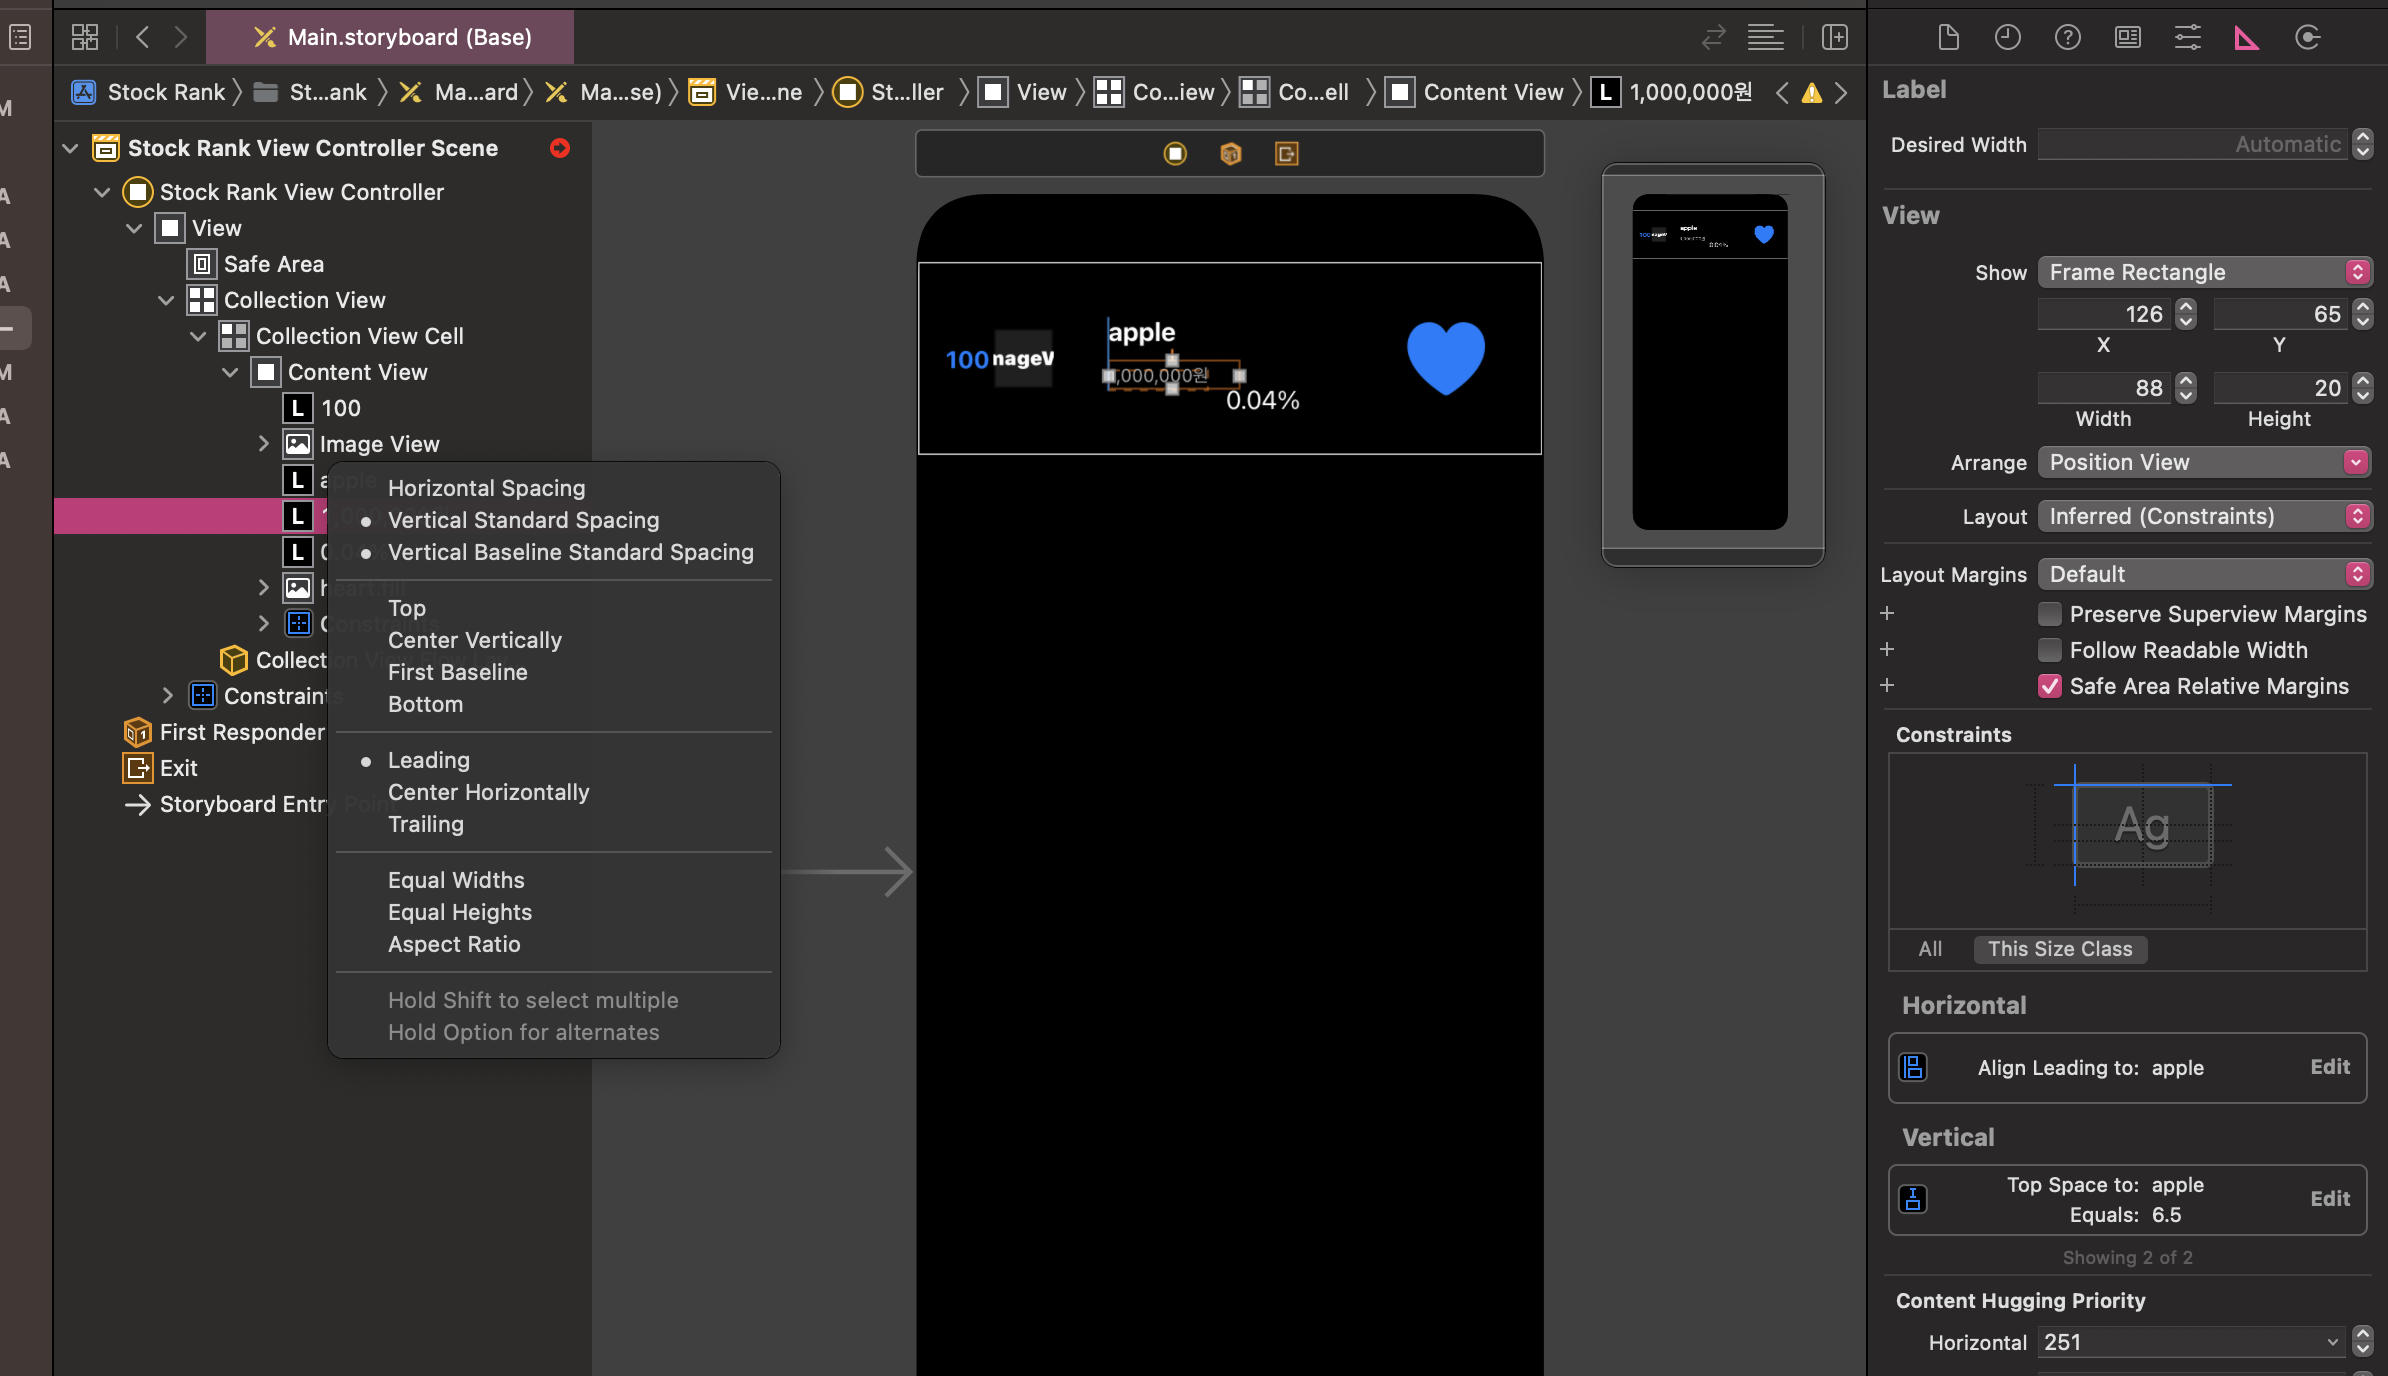
3. 등락폭과 주가 사이의 관계
- Horizontal Spacing : 수평 거리
- Center vertical : 같은 높이를 유지

4. 하트 이미지뷰와 Content View 사이의 관계
- Trailing Space to Container : 오른쪽에 trailing
- Center Vertical in Container : 컨테이너의 수직에서 가운데에 있게
- width랑 height도 정해주기

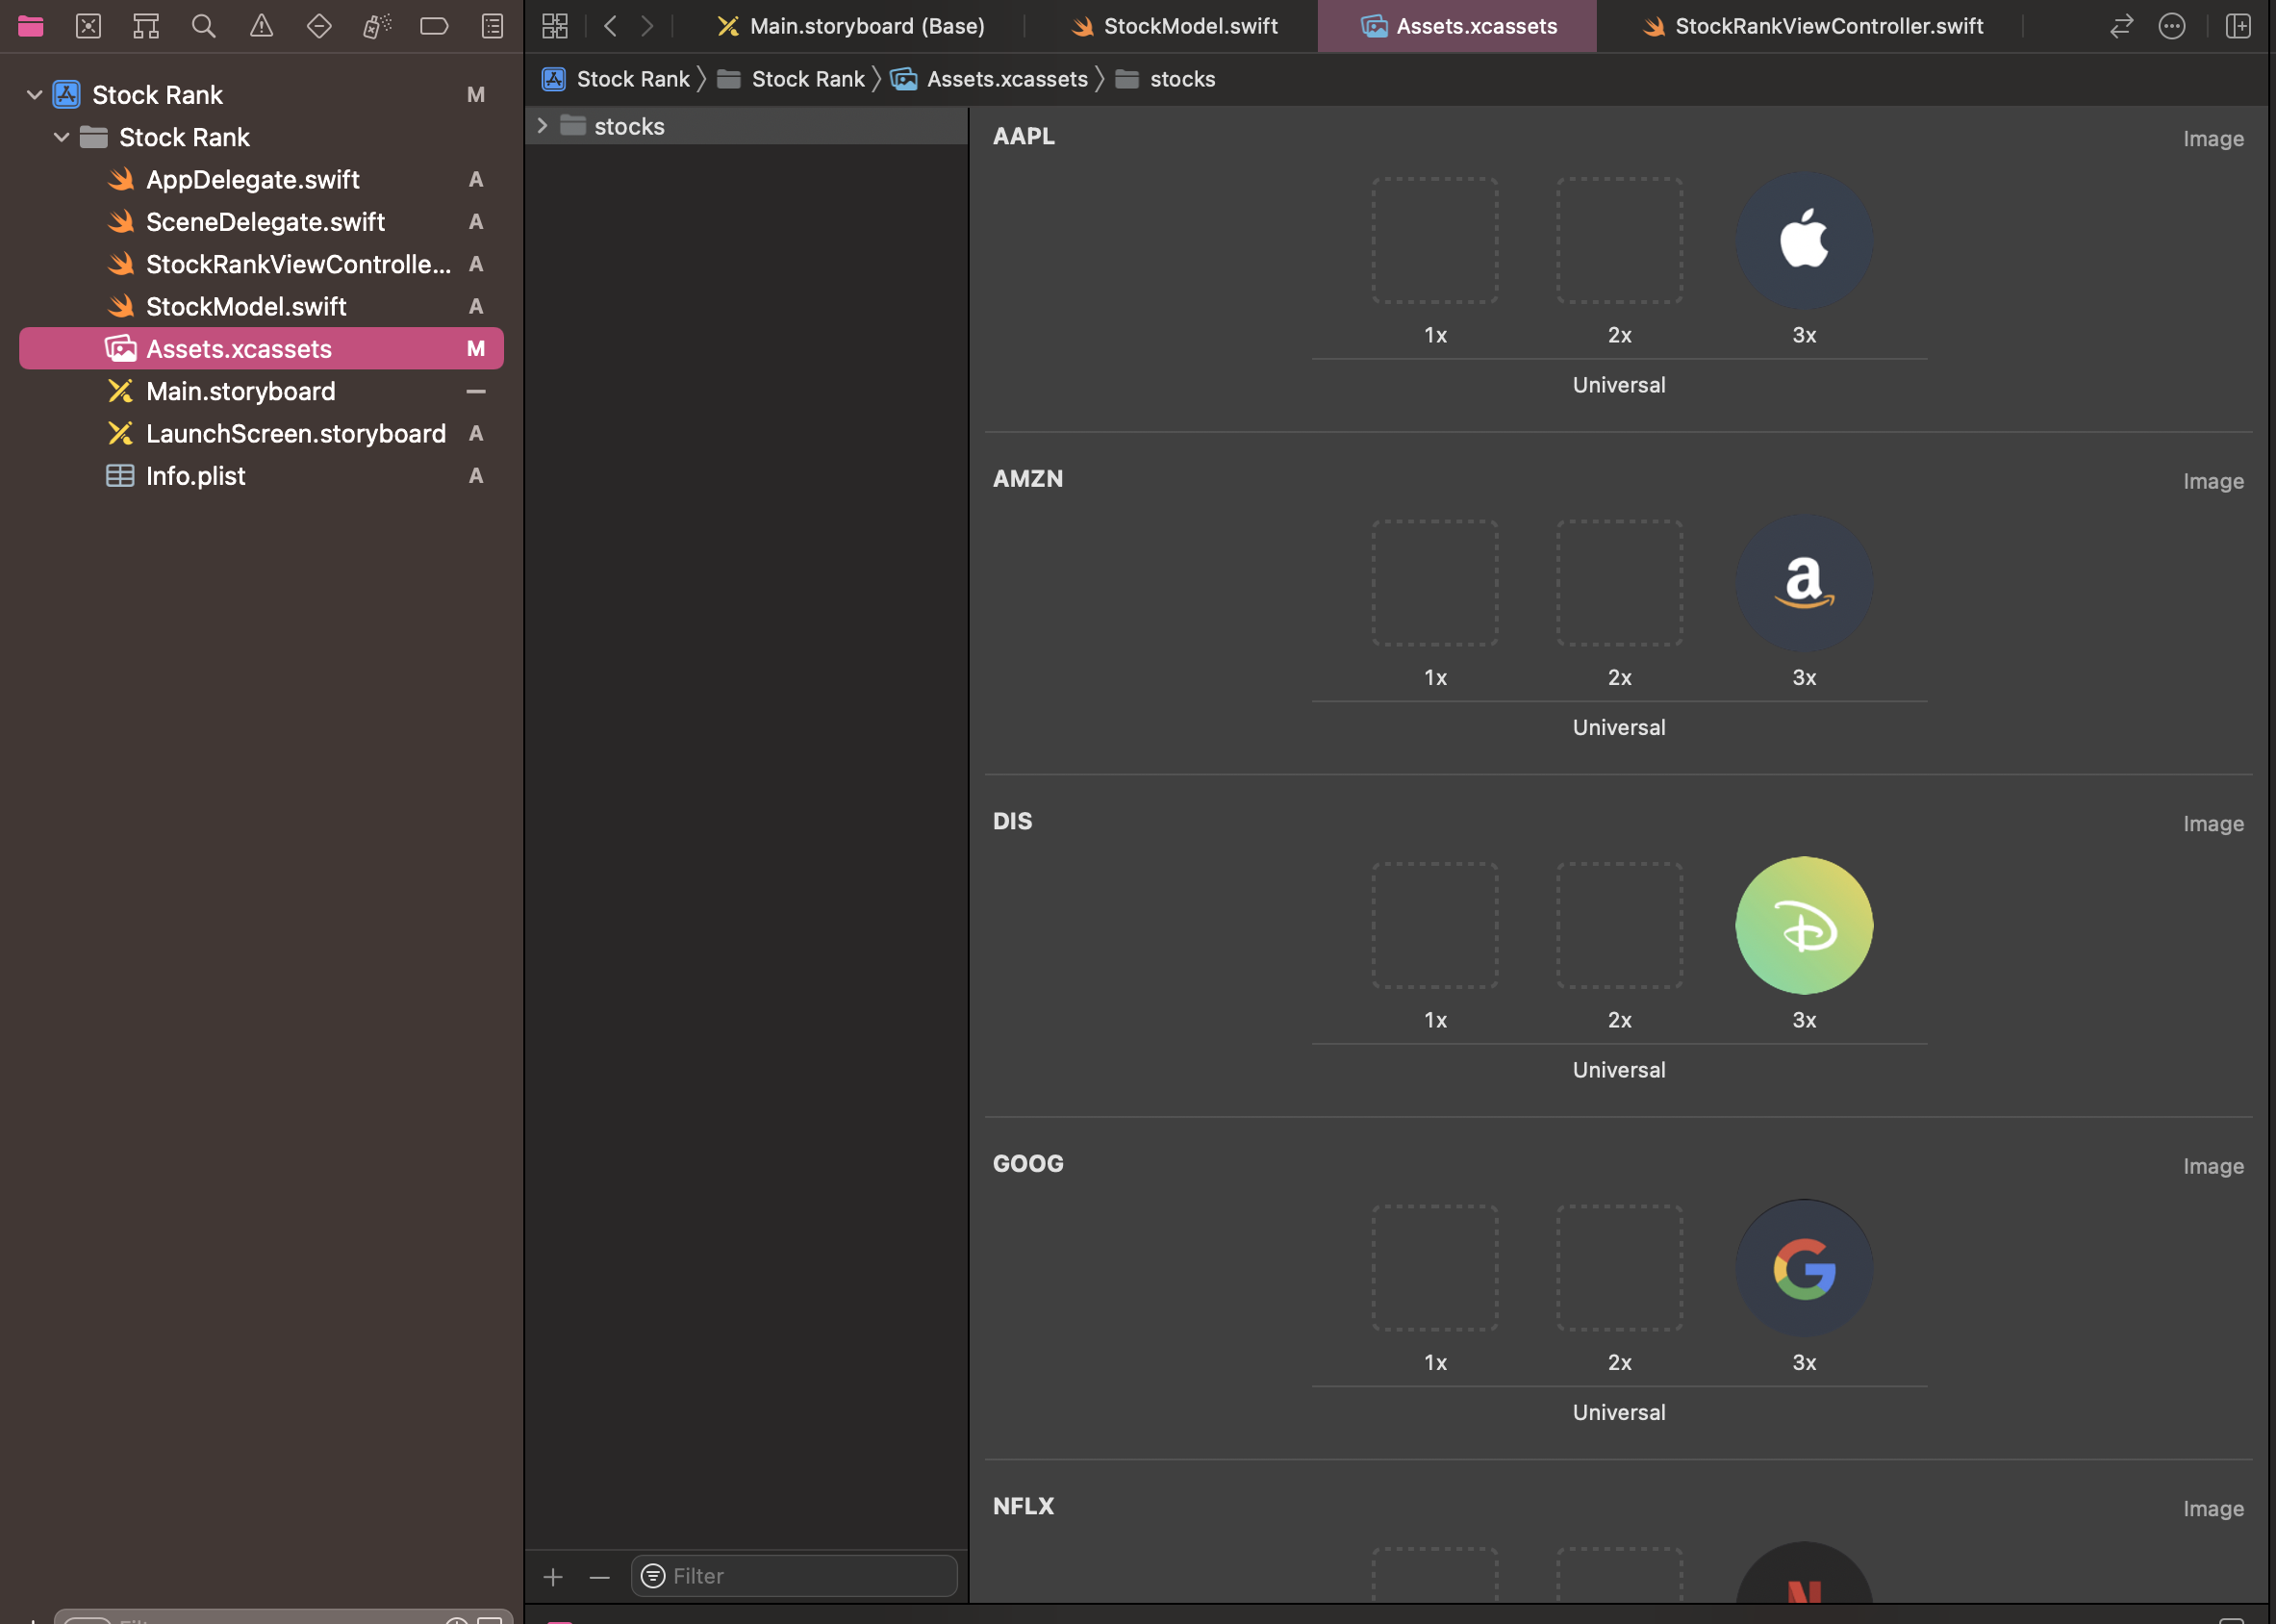
3️⃣ Data 확인
- 패스트캠퍼스에서 제공한 데이터를 이용했다.
- StockModel.swift
import Foundation

struct StockModel {
    let rank: Int
    let imageName: String
    let name: String
    let price: Int
    let diff: Double
}

extension StockModel {
    static let list: [StockModel] = [
        StockModel(rank: 1, imageName: "TSLA", name: "테슬라", price: 1_238_631, diff: 0.04),
        StockModel(rank: 2, imageName: "AAPL", name: "애플", price: 238_631, diff: 1.04),
        StockModel(rank: 3, imageName: "NFLX", name: "넷플릭스", price: 438_631, diff: -0.04),
        StockModel(rank: 4, imageName: "GOOG", name: "알파벳 A", price: 3_176_631, diff: 0.04),
        StockModel(rank: 5, imageName: "AMZN", name: "아마존", price: 3_538_631, diff: 0.04),
        StockModel(rank: 6, imageName: "NIKE", name: "나이키", price: 158_631, diff: 0.04),
        StockModel(rank: 7, imageName: "DIS", name: "디즈니", price: 138_631, diff: 0.04),
        StockModel(rank: 8, imageName: "TSLA", name: "테슬라", price: 1_238_631, diff: 0.04),
        StockModel(rank: 9, imageName: "AAPL", name: "애플", price: 238_631, diff: 1.04),
        StockModel(rank: 10, imageName: "NFLX", name: "넷플릭스", price: 438_631, diff: -0.04),
        StockModel(rank: 11, imageName: "GOOG", name: "알파벳 A", price: 3_176_631, diff: 0.04),
        StockModel(rank: 12, imageName: "AMZN", name: "아마존", price: 3_538_631, diff: 0.04),
        StockModel(rank: 13, imageName: "NIKE", name: "나이키", price: 158_631, diff: 0.04),
        StockModel(rank: 14, imageName: "DIS", name: "디즈니", price: 138_631, diff: 0.04),
    ]
}
- 그리고 여러 이미지 set!
4️⃣ UICollectionViewCell 만들기
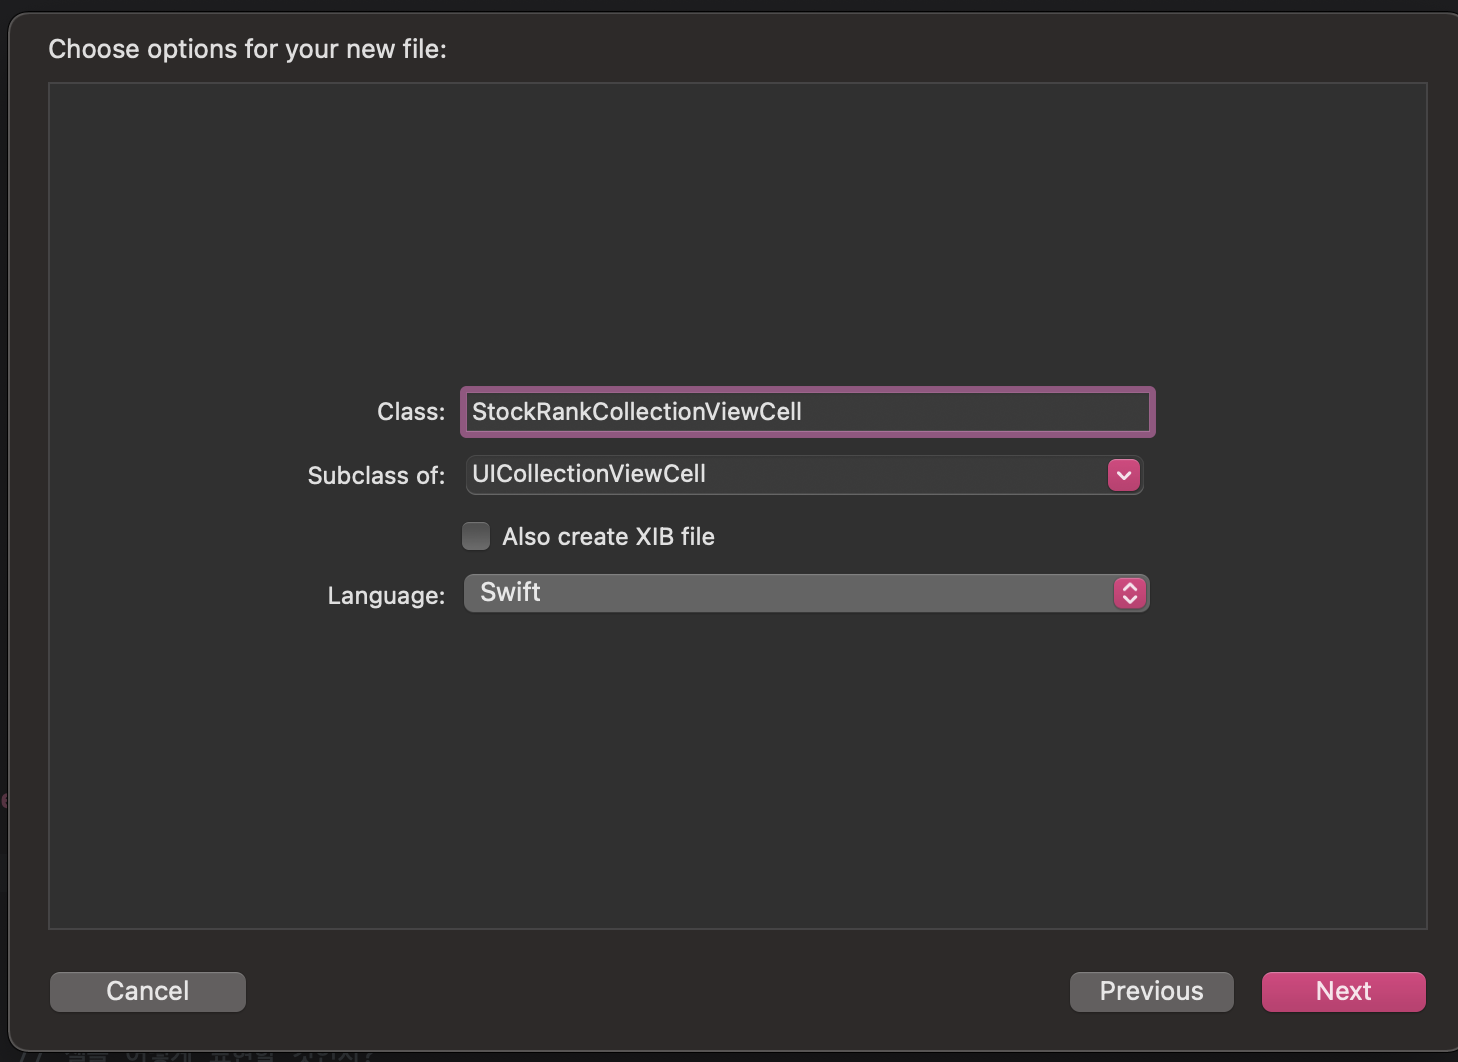

➰ 이 cell 자체는 재사용이 될 수 있기 때문에 구분자인 Identifier가 필요하다.
현재까지 작성한 코드
import UIKit

class StockRankViewController: UIViewController {

    // Data 가져오기
    let stockList: [StockModel] = StockModel.list


    @IBOutlet weak var collectionView: UICollectionView!

    // CollectionView를 사용하기 위해 필요한 3가지!
    // Data, Presentation, Layout
    // Data - 어떤 데이터? -> stockList
    // Presentation - 셀을 어떻게 표현?
    // Layout - 셀을 어떻게 배치?


    override func viewDidLoad() {
        super.viewDidLoad()

        // Protocol : dataSource, delegate
        // dataSource : viewController가 collectionView에게 데이터가 어떻게 될 것인지 알려줌
        collectionView.dataSource = self
        // delegate : 레이아웃이나 셀의 사이즈 등이 어떻게 될 것인지 알려줌 (어떻게 배치할 것인지?)
        collectionView.delegate = self
        // self : 내가 알려줄거야~

    }
}

extension StockRankViewController: UICollectionViewDataSource {

    // 몇개의 데이터를 가져올 것인지?
    func collectionView(_ collectionView: UICollectionView, numberOfItemsInSection section: Int) -> Int {
        return stockList.count
    }

    // 셀을 어떻게 표현할 것인지?
    func collectionView(_ collectionView: UICollectionView, cellForItemAt indexPath: IndexPath) -> UICollectionViewCell {

        // dequeueReusableCell : 재사용이 가능한 cell을 가져오겠다!
        let cell = collectionView.dequeueReusableCell(withReuseIdentifier: "StockRankCollectionViewCell", for: indexPath)
        return cell
    }


}

extension StockRankViewController: UICollectionViewDelegateFlowLayout {

}
5️⃣ Cell을 어떻게 배치할것인가?
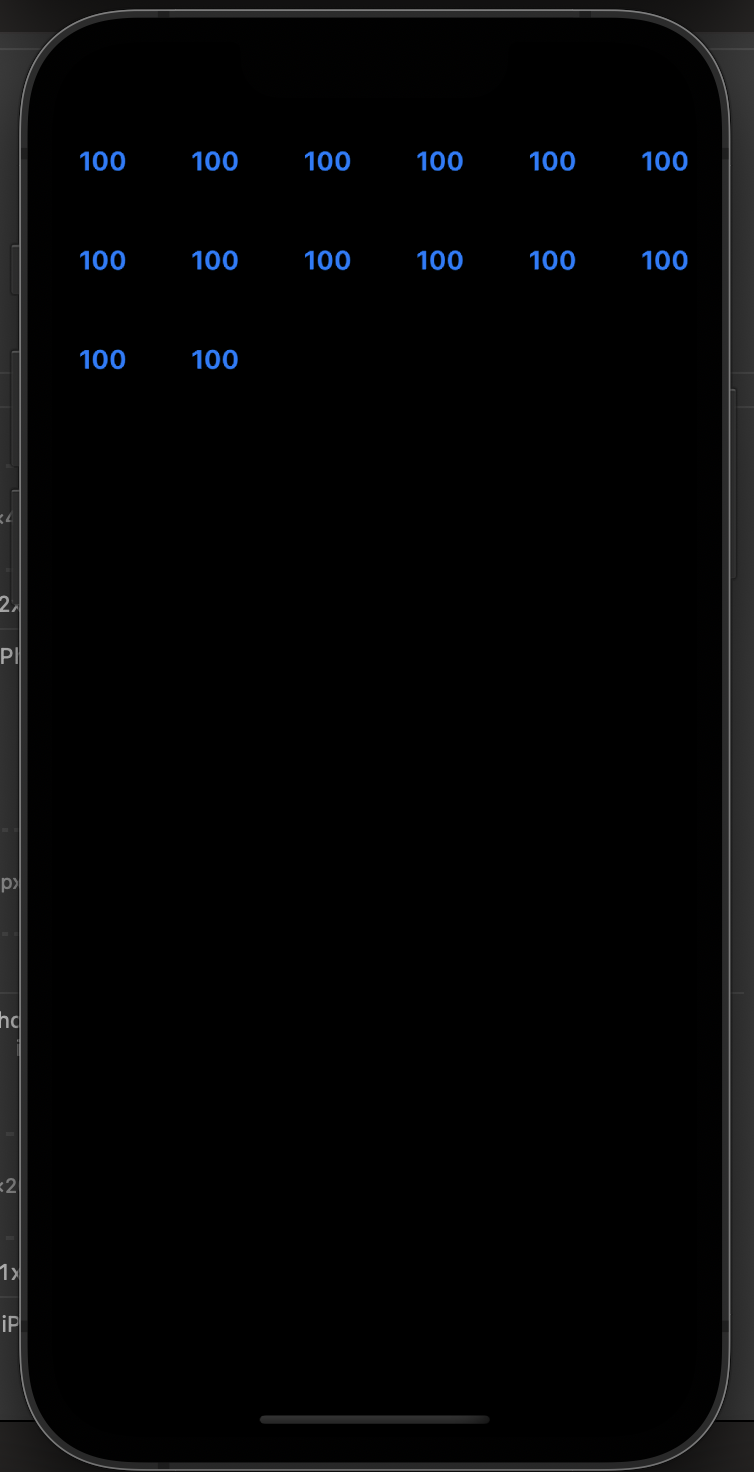
위에서 본 구현 중인 화면은 컬럼이 6개로 나와있는데, 단일 컬럼으로 cell이 배치되도록 해야한다!
UICollectionViewDelegateFlowLayout의 메소드를 이용하면 된다.
extension StockRankViewController: UICollectionViewDelegateFlowLayout {

    func collectionView(_ collectionView: UICollectionView, layout collectionViewLayout: UICollectionViewLayout, sizeForItemAt indexPath: IndexPath) -> CGSize {
        // width == collectionView
        // height == 80

        // collectionView의 width 가져오기 == collectionView.bounds.width
        return CGSize(width: collectionView.bounds.width, height: 80)
    }

}
6️⃣ Cell의 Data를 업데이트!
StockRankCollectionViewCell.swift
import UIKit

class StockRankCollectionViewCell: UICollectionViewCell {

    // UIcomponent 연결
    @IBOutlet weak var rankLabel: UILabel!
    @IBOutlet weak var companyNameLabel: UILabel!
    @IBOutlet weak var companyIconImageView: UIImageView!
    @IBOutlet weak var diffLabel: UILabel!
    @IBOutlet weak var companyPriceLabel: UILabel!

    // UIcomponent에 데이터를 업데이트하는 코드를 넣기
    func configure(_ stock: StockModel) {
        rankLabel.text = "\(stock.rank)"
        companyIconImageView.image = UIImage(named: stock.imageName)
        companyNameLabel.text = stock.name
        companyPriceLabel.text = "\(stock.price) 원"
        diffLabel.text = "\(stock.diff)%"
    }
}
StockRankViewController.swift
extension StockRankViewController: UICollectionViewDataSource {

    // 몇개의 데이터를 가져올 것인지?
    // == CollectionView에게 몇개의 cell이 필요하냐
    func collectionView(_ collectionView: UICollectionView, numberOfItemsInSection section: Int) -> Int {
        return stockList.count
    }

    // 각 셀을 어떻게 표현할 것인지?
    // == indexPath번째에 해당하는 item을 UICollectionViewCell 형태로 어떻게 표현할 거냐
    func collectionView(_ collectionView: UICollectionView, cellForItemAt indexPath: IndexPath) -> UICollectionViewCell {

        // dequeueReusableCell : 재사용이 가능한 cell을 가져오겠다!
        guard let cell = collectionView.dequeueReusableCell(withReuseIdentifier: "StockRankCollectionViewCell", for: indexPath) as? StockRankCollectionViewCell else {
            return UICollectionViewCell()
        }
        // cell을 StockRankCollectionViewCell로 커스팅을 시켜놓기

        let stock = stockList[indexPath.item]
        // indexPath에는 section에 대한 정보 즉, section 안에 들어가는 각 데이터(Row)에 대한 정보들이 있다.
        // [indexPath.item] == item에 대한 정보가 몇번째에 있는지를 알려준다.

        cell.configure(stock)
        return cell
    }


}
위의 코드 자세히 살펴보기
➰ guard ?
guard <<꼭 참이어야하는 조건>> else {
    return 참이 아닐때 실행
}

참일때 실행
guard let cell = collectionView.dequeueReusableCell(withReuseIdentifier: "StockRankCollectionViewCell", for: indexPath) as? StockRankCollectionViewCell else {
return UICollectionViewCell()
}-> 해석 : collectionView cell에서 "StockRankCollectionViewCell" 이라는 ID를 가진 재사용 cell을 가져오는데, StockRankCollectionViewCell로 캐스팅을 한다.
캐스팅이 안되면 UICollectionViewCell()을 return
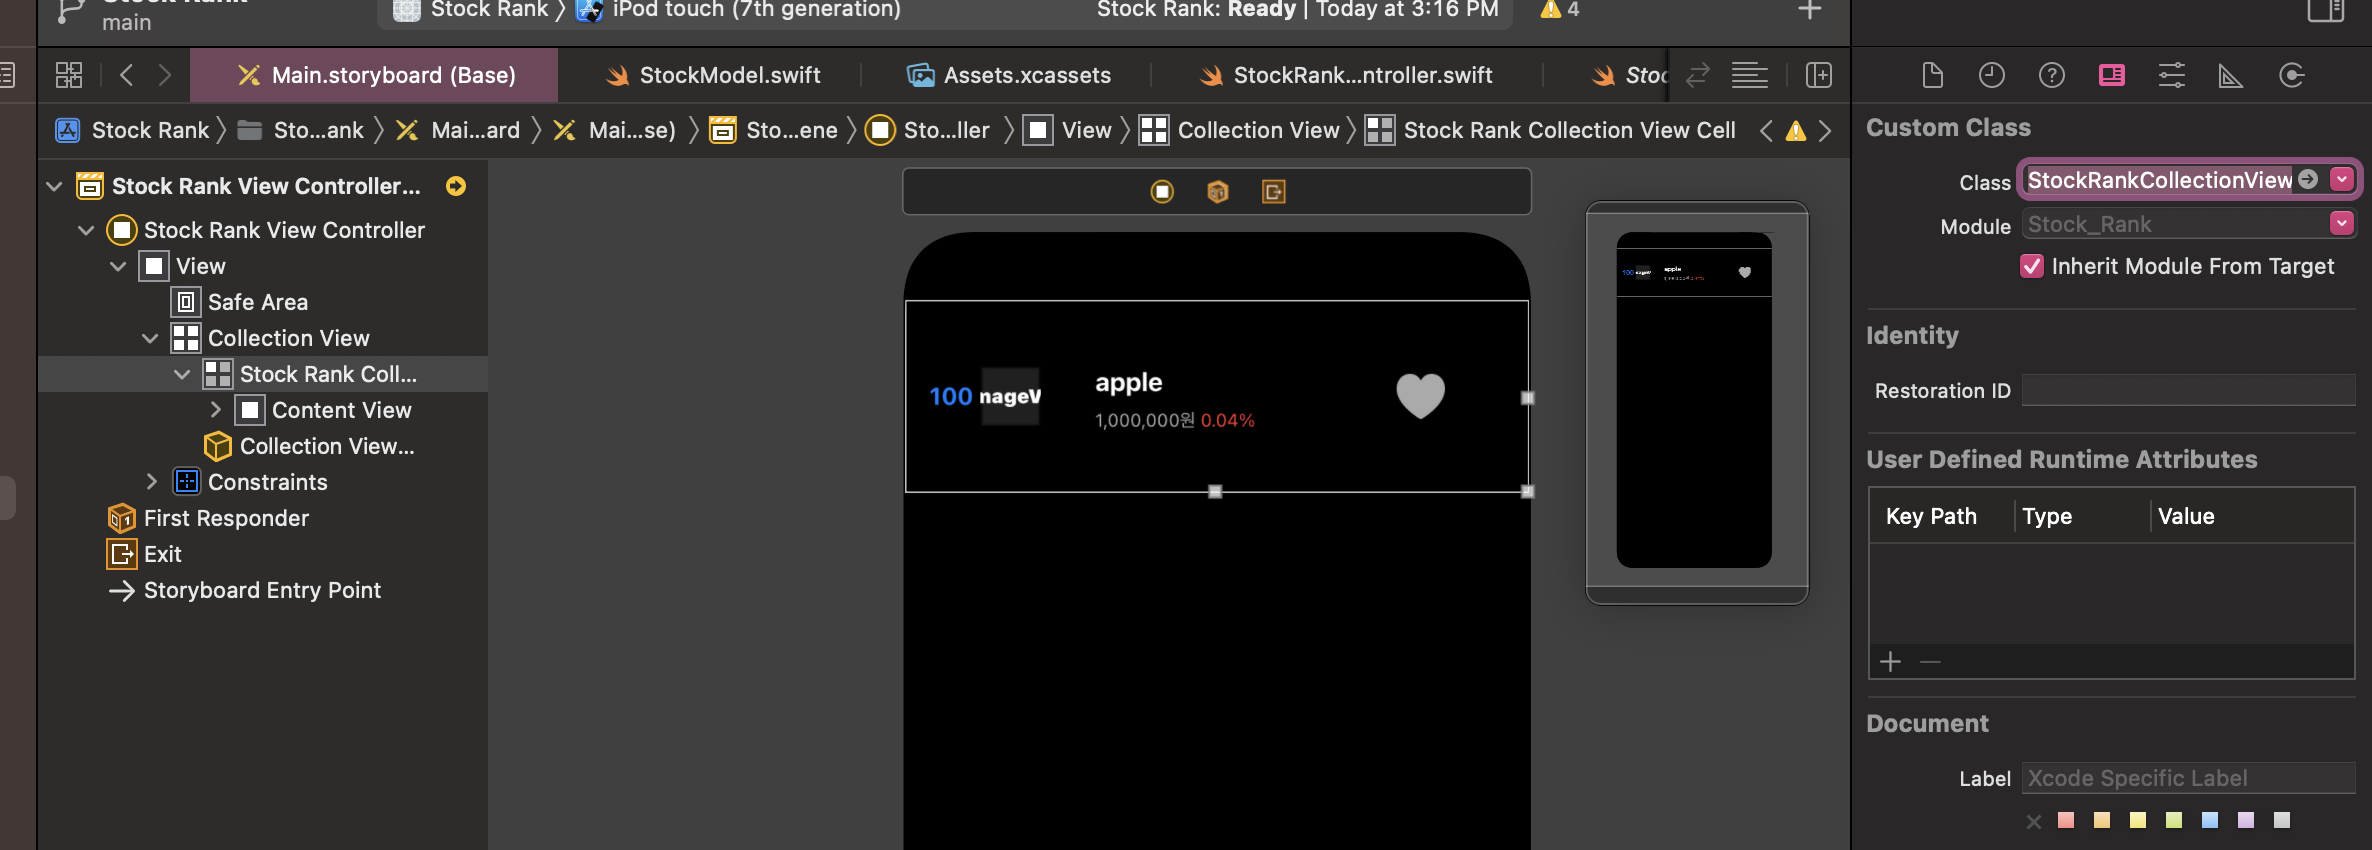
지금까지 구현한 화면
7️⃣ 12312313원 -> 가독성있게 읽히도록 바꿔보자
//
//  StockRankCollectionViewCell.swift
//  Stock Rank
//
//  Created by 오예진 on 2022/05/20.
//

import UIKit

class StockRankCollectionViewCell: UICollectionViewCell {

    // UIcomponent 연결
    @IBOutlet weak var rankLabel: UILabel!
    @IBOutlet weak var companyNameLabel: UILabel!
    @IBOutlet weak var companyIconImageView: UIImageView!
    @IBOutlet weak var diffLabel: UILabel!
    @IBOutlet weak var companyPriceLabel: UILabel!

    // UIcomponent에 데이터를 업데이트하는 코드를 넣기
    func configure(_ stock: StockModel) {
        rankLabel.text = "\(stock.rank)"
        companyIconImageView.image = UIImage(named: stock.imageName)
        companyNameLabel.text = stock.name

        // 아래에 만든 convertToCurrencyFormat 써먹기
        companyPriceLabel.text = "\(convertToCurrencyFormat(price : stock.price)) 원"

        diffLabel.text = "\(stock.diff)%"
    }

    // 가격을 세자리씩 끊기
    func convertToCurrencyFormat(price: Int) -> String {
        let numberFormatter = NumberFormatter()
        numberFormatter.numberStyle = .decimal
        numberFormatter.maximumFractionDigits = 0

        // nil인 경우에는 "" 빈 string을 넘겨주자 -> 실제 많이 사용되는 방식
        let result = numberFormatter.string(from: NSNumber(value: price)) ?? ""

        return result
    }
}
-> NumberFormatter() : 숫자값과 문자적 표현 사이를 변환해주는 formatter = 숫자의 Formatting을 도와주는 객체

8️⃣ 등락폭이 -값 일때는 파란색으로 표시하기
StockRankCollectionViewCell.swift
// UIcomponent에 데이터를 업데이트하는 코드를 넣기
    func configure(_ stock: StockModel) {
        rankLabel.text = "\(stock.rank)"
        companyIconImageView.image = UIImage(named: stock.imageName)
        companyNameLabel.text = stock.name

        // 아래에 만든 convertToCurrencyFormat 써먹기
        companyPriceLabel.text = "\(convertToCurrencyFormat(price : stock.price)) 원"

        // 등락폭에 따라 text color 바꿔주기
        var color: UIColor
        if stock.diff > 0 {
            color = UIColor.systemRed
        } else {
            color = UIColor.systemBlue
        }
        diffLabel.textColor = color
        diffLabel.text = "\(stock.diff)%"
    }
삼항연산자로 코드 줄이기
// 등락폭에 따라 text color 바꿔주기
diffLabel.textColor = stock.diff > 0 ? UIColor.systemRed : UIColor.systemBlue

diffLabel.text = "\(stock.diff)%"
🚀구현완료!
📌 정리,
CollectionView를 이용할 때,
1. Data : 어떤 데이터를 가져올건지?
2. Presentation : 셀을 어떻게 표현할 건지?
3. Layout : 셀을 어떻게 배치할 건지?
를 생각해야한다.
이번 프로젝트에서
Data는 패캠에서 제공해준 assets와 StockModel.swift 데이터를 사용,
Presentation은 UICollectionViewDataSource 프로토콜을 준수하는 객체를 만들어 표현
Layout은 UICollectionViewDelegateFlowLayout의 메소드를 이용하여 단일 컬럼으로 셀이 배치되게 하였다.
그리고 StockRankCollectionViewCell 파일을 만들어 UIComponent를 연결과 UIComponent에 데이터를 업데이트하는 코드를 작성했다.
+ 등락폭에 따라 글자색상 변경
+ 가격을 가독성있게 변경 : NumberFormatter() 객체 사용
Reference
패스트캠퍼스 온라인 강의
'iOS > Toy project' 카테고리의 다른 글
| [iOS : Toy Project] Apple Framework List (2) (0) | 2022.05.28 |
|---|---|
| [iOS : Toy Project] Apple Framework List (1) (0) | 2022.05.28 |
| [iOS: Toy Project] Chat List (0) | 2022.05.23 |
| [iOS : Toy Project] Simple Weather (0) | 2022.05.17 |
| [iOS : Toy Project] Symbol Roller (0) | 2022.05.12 |